January Pinterest Project: An Organized Power Strip
I decided, with the whole "12 in 2012" vibe going on this year (which is pretty sweet, if you ask me...next year "12 in 2013" just isn't going to have the same effect) that I would do one Pinterest project a month. It won't always be some big DIY project, but just putting into practice something I pinned. I have a ton of great ideas on my boards, I just don't ever use them!
So here is the inspiration pin for my first project:
Genius, right? I can do that. And I had the perfect place to try it out...
The mess that is the corner of our church by the piano. Oh my. Sooo many cords and messiness, due to different things on the piano and the sound system. Here is the breakdown:
I knew with that huge mess, it wasn't going to be enough to just label the cords like in the Pinterest picture! No, I had to do something to clean up the area...it was bugging me to death!
So I grabbed an old shoebox....
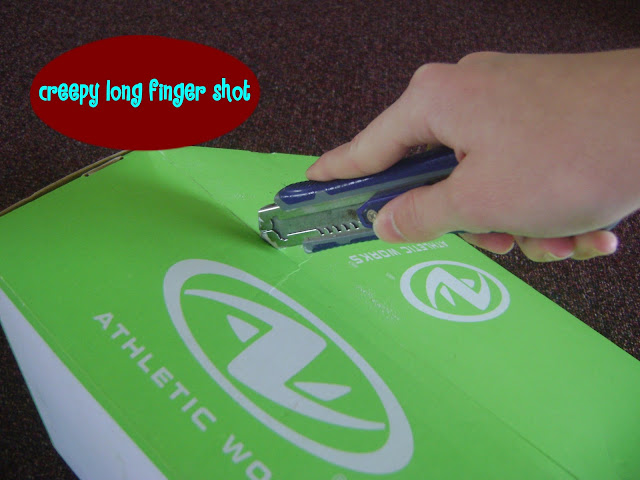
And cut the top off.
Because of the type of box I had, I was left with the perfect shape for my project. 3 sides and the top. You'll see why in a bit.
I grabbed a fine-point Sharpie and labeled my....labels. (What would you call those things? Little plastic tabs from bread. You know what I mean.)
Oh, we are getting somewhere, folks!
Next I just had to wrassle the cords and figure out what went where and how I could get them to lay a little neater. I used some twisties to bundle up the cords that were all coming from the piano and headed toward the power strip.
The stand for the monitors was already sporting this handy-dandy little clip for keeping the cords neat (which of course, was not being used for *whatever* reason!). So I put that sucker to good use!
Now that I had the cords de-tangled and headed in all the right directions, it was time to get my box top into tip-top shape. I drew lines with my Sharpie for where I wanted grooves cut out.
Yes, I know my drawing skilz are seriously lacking.
Thankfully my cutting skilz are a little better, because when I cut out those grooves with a sheetrock knife, they fit nice and cleanly over the wires.
Now you see why it was important to have that one side of the box open. It was shaping up so nicely! But I couldn't leave it neon green, of course!
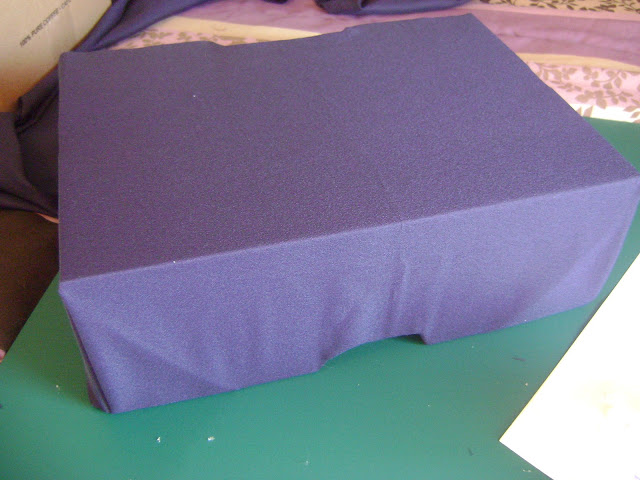
I pulled a nice deep navy-colored fabric from my scrap bin and cut it to size, then hot glued it to my box. And I didn't even iron it first. Shh, don't tell! Once I pulled it tight over the box and glued it in place, it laid nice and flat. I basically just "wrapped" the box like I would if it was a present, but left the back side open, and finagled so my grooves were open, too.
The inside of the box wasn't all that pretty, especially around the grooves. But hey, no one else is going to see it! (Except for you...and you won't spill my secret, will you?)
The outside looked oh so good!
Oh...that is so much better. I can't even tell you how much better it makes me feel to have that mess corralled and covered up! Here is what it looks like underneath:
There are still a lot of wires that have to go to and fro over there, but it is much neater now, and way more professional looking!
Barely even noticable!
So that is my Pinterest project for this month! I am already trying to decide what to do next month...hmm, guess that means I need to go spend some more time on Pinterest! (evil laugh)
Have you been doing any pinterest-inspired projects recently? Have you done some organizing that has changed your space drastically? What do you do with your zillion power cords?


Love it, love it! Great job, Nic!
ReplyDeleteThanks!
DeleteGood Job! I just love pinterest. I know what you mean about pinning so many things and not doing them. I too have been making an effort to actually do some of the things on my boards. It has been fun and helpful. Thanks for sharing.
ReplyDeleteGood for you! I'd love to see them...you should blog about them!
DeleteDid you notice that the cloth clashes with the carpet? But i guess it is just one more way to get rid of the 50,000 boxes we, for some odd reason, keep in our attic!
ReplyDeleteIt doesn't clash, it exactly matches the cloth on the communion table! (Which doesn't clash either, so don't even say it!)
Delete